
Astro Photography for Beginners: Tips
Have you ever found yourself mesmerized by the vastness and beauty of the night sky? The stars, galaxies, and celestial objects that
I thought I’d move away a bit from the “Usual” topics of nightscape photography and have a discussion about composition for your Milky Way images. Composition has been a topic of discussion, evolution and disagreement amongst all genre of artists for centuries. But over this time principles and formats have been developed and agreed upon and now plays a major part of art, photography and especially advertising.
The process of assessing and composing an Astro image has some unique constraints and considerations that often force us to vary the usual guidelines.
This is driven by the goal of including a large portion of the night sky in the image. This general requirement forces us to modify our process of deciding on our subject, reviewing the Principles (Style) of our image and what elements and perspective are available for us to use.
Given it is dark, we often can’t even see some of the Elements ( Lines, Shapes, Texture, etc). Equally our Perspective is somewhat “Locked In” by our desire to have the sky fill the larger portion of the image.
One of the misconceptions of astro photography is that the sky is our Primary Subject. For deep space photography of galaxies and nebula, this is absolutely the case.
But for Nightscape photography, the sky is actually just an interesting backdrop to our primary landscape subject. The stars are our secondary subject or even just a supporting object. This might sound surprising and counter intuitive but to prove my point, compare a photo of stars over a plain ocean vs stars behind an awesome old stone ruin building that has been beautifully lit and you tell me which one looks better.
In these examples, the stars are merely a backdrop to the Primary Subject.
The Principles of Balance, Centre of Interest, Isolation, Rule of Thirds and Negative Space still have an important role to play in astro photography.
However, due to the constraints of including mostly sky in our image which can severely limit our compositional options, Balance plays an even more important role than in daylight photography.
Elements (Leading Lines, Shapes, Texture, etc) are just as relevant in astro photography but are now much harder to see and incorporate. This is where well thought out lighting or use of natural lighting can significantly add to the image.
If you can make important elements visible, it can really add to the story and journey through the image.
This is where techniques like Blue Hour blends, lighting with torch or LED’s, combining moonlight foreground images with no moon astro images in exactly the same frame, can really make the difference between an interesting astro image and an extraordinary nightscape.
However, this is also really hard work and requires a high degree of both compositional and technical knowledge to achieve correctly. This is where you spend 8 hrs on site and 8 hrs of processing for just one single image. This is the Rabbit Hole!
For nightscapes we need to modify our methods of composition in order to accommodate our desire to capture mainly night sky. Although the Milky Way is NOT our Primary Subject, it is obviously a very important supporting object that will normally occupy a significant proportion of our image.
As a result, we need to approach this based on the Orientation of the Milky Way. At different times it has 3 basic orientations,
We adapt our Perspective based on the above.
VERTICAL MILKY WAY
By default, this almost automatically forces you into a vertical/portrait orientation format. Alternatively you can do a multi-row vertical panorama (camera in landscape orientation – just moving it vertically between shots)
A vertical Milky Way lends itself beautifully to a symmetrical style of composition (an Element I haven’t mentioned yet).
You can place the Milky Way offset or on a Third, but you then need a very strong object to balance the image. This often leads to competing subjects as the viewer is subconsciously unsure which object is the point of the image.
When placing the Milky Way centrally above a small foreground object, beware of the “palm tree growing out their head” effect. There needs to be slight separation between object and Milky Way.

DIAGONAL MILKY WAY
This is the most common scenario. Balance and Rule of thirds is key to these images. Try to orientate yourself to place the foreground Primary Subject in a lower corner and the Milky Way in the opposite upper corner.
By trying to align your scene into opposite upper and lower diagonal thirds, you will achieve visual balance in the image. The Primary foreground subject and secondary Milky Way subject will compliment each other rather than competing against each other for attention.
Remember, Balance is visual weight so your Primary Subject can be the Milky Way and the balancing supporting subject may simply be bright lights on the horizon.
LANDSCAPE or PORTRAIT
Where is the Milky Way – Vertical, Horizontal, Angle?
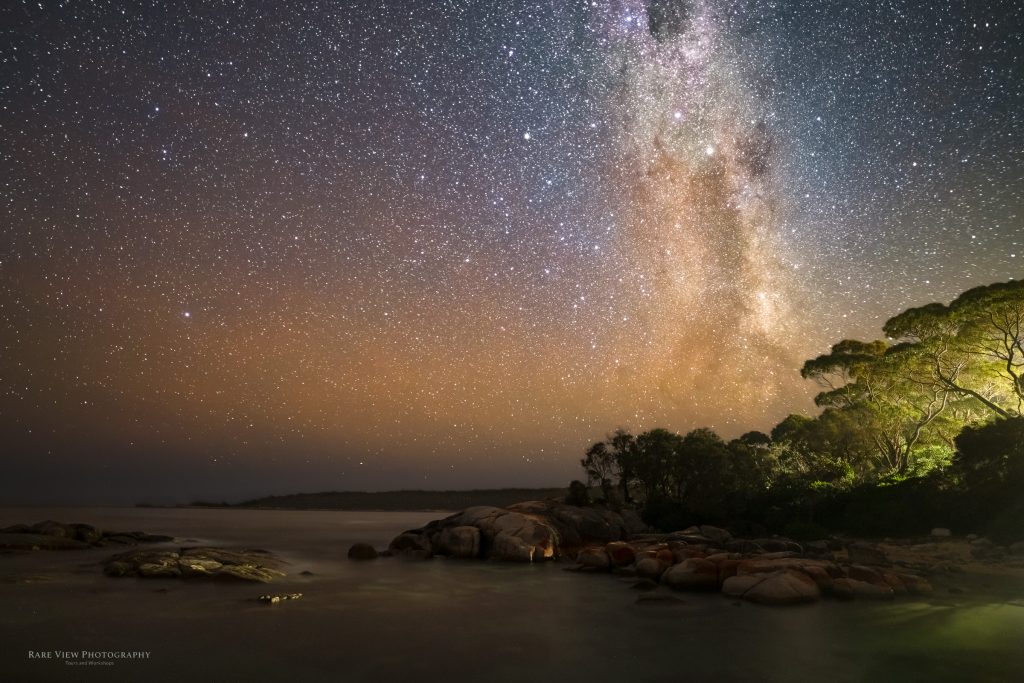

HORIZONTAL MILKY WAY
This is the most exciting scenario because you now have several options for composition.
If you get the timing right, the Milky Way can be fairly low on the horizon which means you can get much more foreground in the image which means you can treat it compositionally like a daytime landscape image.
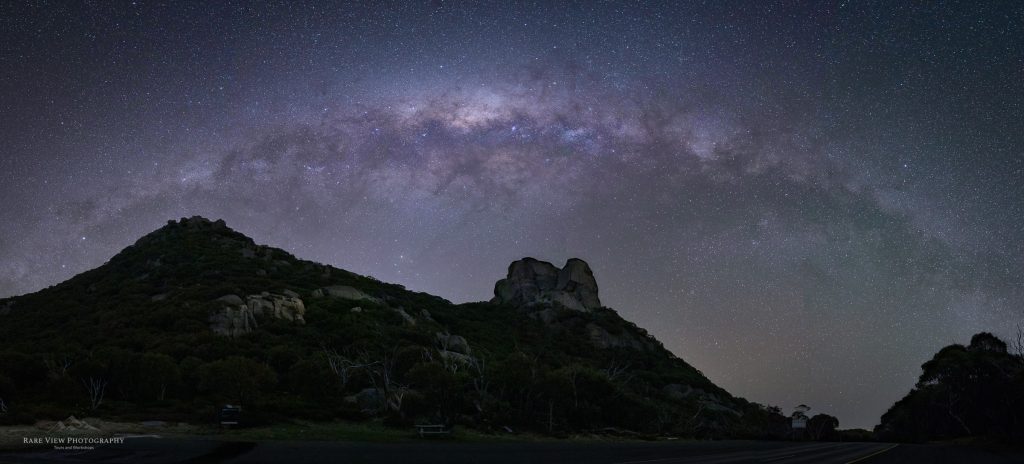
Panorama’s work beautifully when they are symmetrical and are even better when an object is placed centrally below the Milky Way arch.
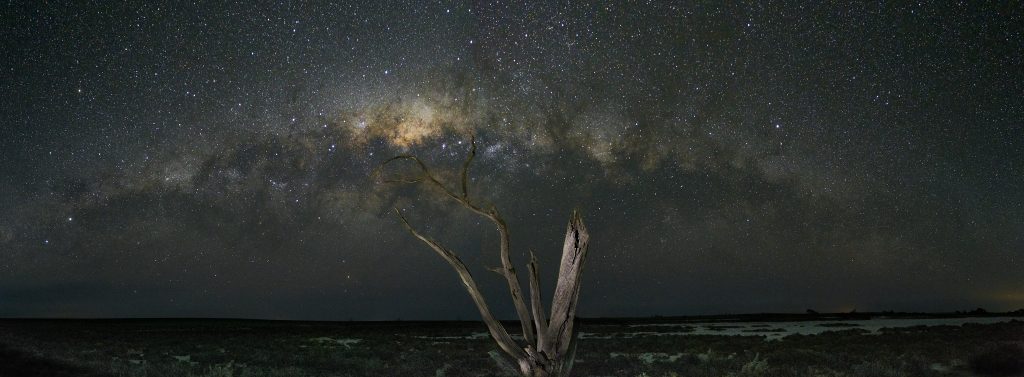
Panorama’s don’t need to be perfectly symmetrical if you balance the image with another object.
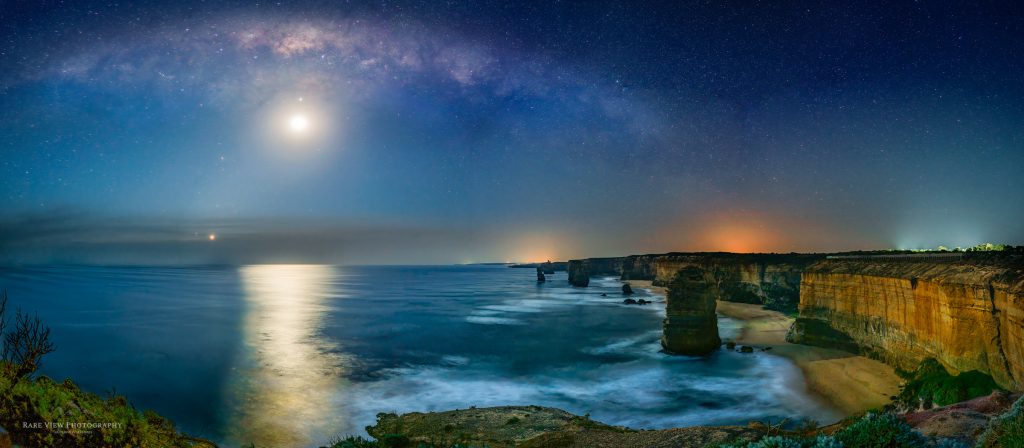
Reflection Panorama’s again lend themselves to a Symmetry style where the horizon is generally mid frame so you get symmetry both horizontally and vertically.
Capturing these images can be a simple wide angle lens single shot or a very complex multi-row panorama. (The Rabbit Hole again!)
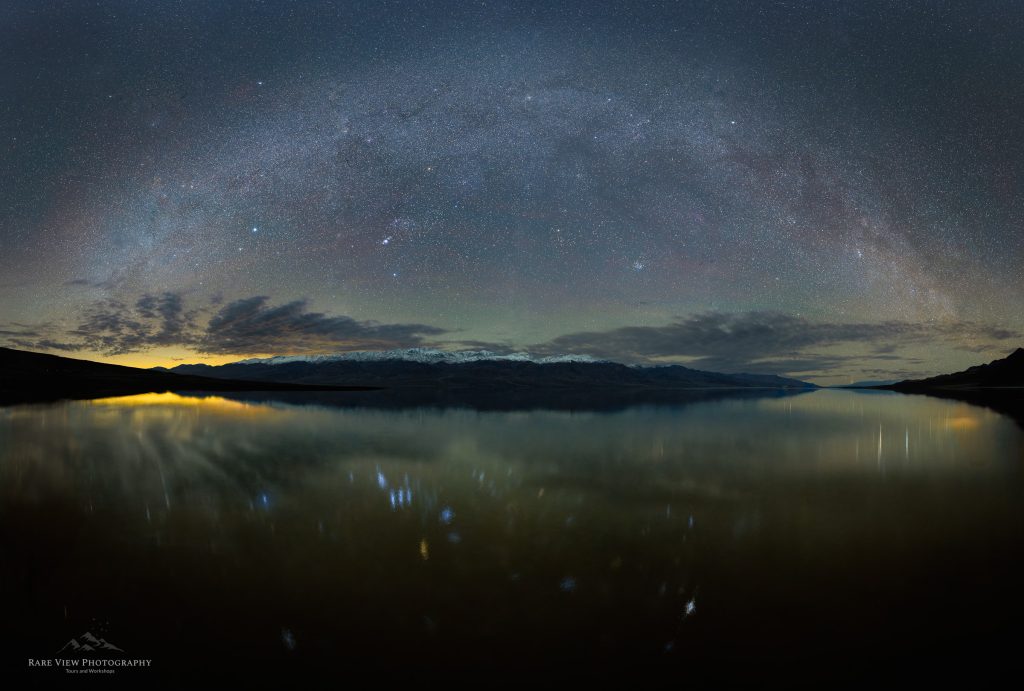
You don’t always need the full arch. A zoomed in view can work really well and you can again treat this like a daytime landscape image where the clouds are replaced with the Milky Way.
It helps if you also have an object that “Breaks” the horizon line, ie. something that sticks up through the horizon so that it is not just an image split between top and bottom by the horizon.
Hopefully this has given some “food for thought” the next time you head out for some astro.
HAPPY HUNTING

Have you ever found yourself mesmerized by the vastness and beauty of the night sky? The stars, galaxies, and celestial objects that

In my last blog, I gave some training on how to take a night sky panorama. In this blog, I’m going to

n this blog, I’ll give some advice on Night Sky Panorama Photography. After months of planning, the Lake Tyrrell Astro Weekend Workshop

Rare View provides Photographic Training and experiences through workshops and tours. I also create Time Lapse videos for production and advertising companies.
24 hours ago
4 weeks ago
4 weeks ago
4 weeks ago
4 weeks ago
4 weeks ago

One Response
Thank you for sharing this insightful article! I found the information really useful and thought-provoking. Your writing style is engaging, and it made the topic much easier to understand. Looking forward to reading more of your posts!